Switching from Squarespace to WordPress opens up a world of flexibility and customization options for your website. WordPress powers 43.3% of all websites on the internet, making it the most popular content management system worldwide. (Source: Multidots)
As a web design and development agency specializing in WordPress migrations, we often help clients who want to keep their existing Squarespace domain while moving their website to WordPress. This process, known as “pointing” your domain, is a crucial step in the migration journey.
In this guide, we’ll walk you through the complete process of pointing your Squarespace domain to WordPress. We’ll cover everything from understanding the basics to troubleshooting common issues.
Understanding Domain Pointing vs. Domain Transfer
Before diving into the technical steps, it’s important to understand the difference between pointing a domain and transferring it. Domain pointing keeps your domain registered with Squarespace while directing visitors to your new WordPress hosting. Domain transfer completely moves the domain registration to another registrar.
Pointing your domain offers several advantages. You can keep your existing domain management system. You avoid the waiting period associated with domain transfers. You also maintain any email services currently linked to your Squarespace domain.
Below is a comparison of both approaches to help you decide which option better suits your needs:
| Factor | Domain Pointing | Domain Transfer |
|---|---|---|
| Time to Complete | Hours (DNS propagation) | Days (transfer process) |
| Domain Renewal | Still with Squarespace | With new registrar |
| Email Services | Maintained (with proper setup) | Need reconfiguration |
| Technical Difficulty | Moderate | Higher |
This comparison shows why many website owners choose to point their domain rather than transfer it, especially when time is a factor. The choice ultimately depends on your specific circumstances and future plans.
Prerequisites Before You Begin
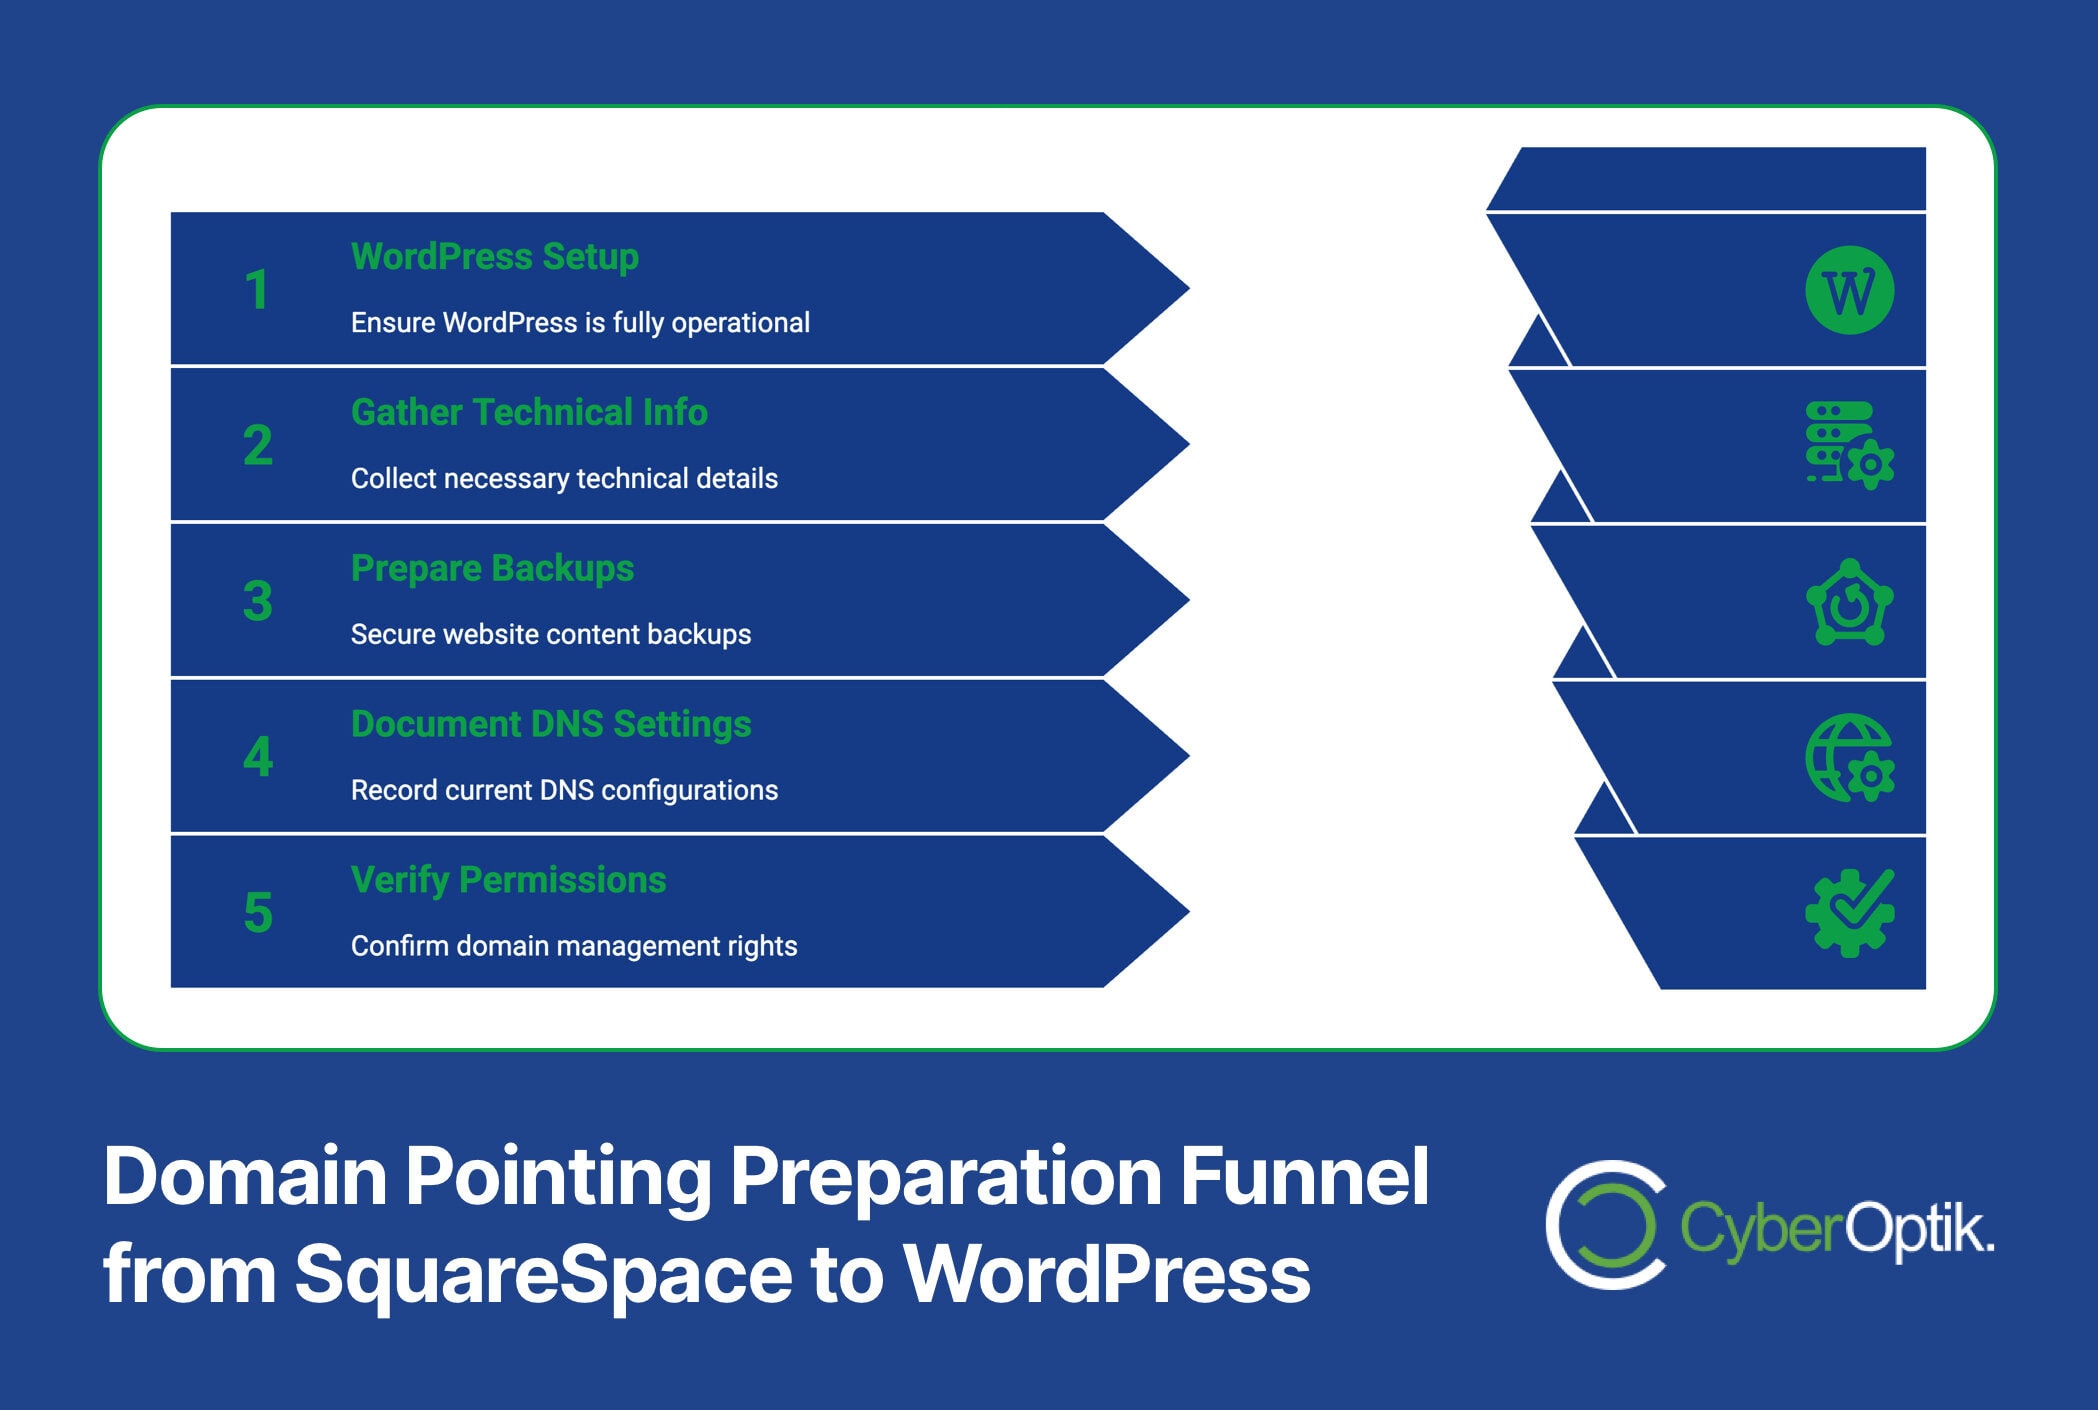
Before pointing your Squarespace domain to WordPress, ensure you have everything ready. First, verify you have an active WordPress hosting account with your installation completed. Second, gather your WordPress hosting nameserver information (typically provided by your host).
You’ll also need administrative access to your Squarespace account to modify domain settings. Finally, we strongly recommend creating backups of your website content before making any DNS changes.

Here’s a checklist of what you’ll need before starting the process:
| Requirement | Description | How to Obtain |
|---|---|---|
| WordPress Installation | Working WordPress site on your new host | Set up through hosting provider |
| Nameserver Information | Your WordPress host's DNS servers | Provided in hosting account or support |
| Squarespace Admin Access | Login credentials with domain management permissions | Your Squarespace account |
| Current DNS Records | Existing records for email, subdomains, etc. | Squarespace domain DNS settings |
Taking the time to collect this information will make the domain pointing process much smoother. It helps prevent unexpected issues and ensures you have all necessary data at hand.
Step-by-Step Process to Point Squarespace Domain to WordPress
Now let’s go through the exact steps needed to point your Squarespace domain to your new WordPress website. We’ll break this down into manageable stages to ensure nothing is missed during the process.
Step 1: Find Your WordPress Website’s Nameservers
Nameservers are what direct internet traffic to your website. Your WordPress hosting provider assigns specific nameservers that you’ll need to use in Squarespace.
To find your nameservers, log into your WordPress hosting account. Look for DNS or nameserver information in your hosting control panel. Most hosts display this information prominently in the account dashboard or domain management section.
Typically, nameservers follow this format:
| Hosting Provider | Typical Nameserver Format | Example |
|---|---|---|
| Bluehost | ns1.bluehost.com, ns2.bluehost.com | ns1.bluehost.com, ns2.bluehost.com |
| SiteGround | ns1.siteground.net, ns2.siteground.net | ns1.siteground.net, ns2.siteground.net |
| HostGator | ns####.hostgator.com | ns1234.hostgator.com, ns5678.hostgator.com |
| GoDaddy | ns##.domaincontrol.com | ns01.domaincontrol.com, ns02.domaincontrol.com |
Record these nameservers carefully as you’ll need to enter them exactly in the next steps. Any typos could prevent your domain from pointing correctly to your WordPress site.
Step 2: Access Your Squarespace Domain Settings
Once you have your WordPress nameservers, you need to access your Squarespace domain settings. Sign in to your Squarespace account and navigate to the domains section. Select the domain you want to point to WordPress.
In your domain management panel, look for DNS settings or nameserver configuration options. This is typically found under “Advanced Settings” or a similar section dedicated to domain technical configuration.
Free WordPress.com plans don’t support custom domains, so ensure you’re using a self-hosted WordPress installation or a paid WordPress.com plan that allows domain customization. (Source: Squarespace Support)
Step 3: Update Nameservers in Squarespace
In your Squarespace domain settings, locate the nameserver configuration section. You’ll need to replace Squarespace’s default nameservers with your WordPress hosting nameservers.
Follow these specific steps:
- Find the “Nameservers” section in your domain settings
- Select the option to use custom nameservers
- Enter your WordPress hosting nameservers in the provided fields
- Save your changes
Important: Changing nameservers may disrupt email services unless MX records are preserved. If you use email services with your domain, make note of all MX records before changing nameservers. (Source: YouTube Tutorial)
Step 4: Verify DNS Propagation
After updating your nameservers, the changes need time to propagate throughout the internet. DNS changes take up to 72 hours to fully propagate, though many users see results much sooner, often within a few hours. (Source: WPBeginner)
During this waiting period, you can verify propagation status using online DNS checker tools. Enter your domain name in these tools to see if the nameserver changes are showing up in different regions.
Propagation delays can be tested via incognito windows in your browser, which don’t use cached DNS information. This gives you a more accurate view of the current propagation status. (Source: Squarespace Support)
Alternative Method: Using DNS Records Instead of Nameservers
Instead of changing nameservers, you can point your domain to WordPress by modifying specific DNS records in Squarespace. This approach offers more granular control and is useful if you need to maintain certain services with Squarespace.
Configuring A Records in Squarespace
The A record (Address record) points your domain name to your WordPress hosting’s IP address. You’ll need to obtain the IP address from your WordPress hosting provider.
Here’s how to update your A records in Squarespace:
- Access your domain’s DNS settings in Squarespace
- Locate the A records section
- Remove existing A records or edit them
- Add a new A record with @ as the host and your WordPress hosting IP as the value
- Save your changes
Unfortunately, Squarespace domains can’t point to specific pages (e.g., `/about`), so you’ll need to set up redirects within WordPress after the domain is pointed. (Source: Flexi.ink)
Setting Up Other Required DNS Records
Beyond A records, you may need to configure additional DNS records for proper functionality. These typically include CNAME records for the www subdomain and MX records for email services.
This table outlines the common DNS records you might need to configure:
| Record Type | Host/Name | Value/Points To | Purpose |
|---|---|---|---|
| A Record | @ | Your hosting IP address | Point root domain to WordPress |
| CNAME Record | www | Your domain name | Direct www requests to your domain |
| MX Records | @ | Mail server addresses | Email delivery |
| TXT Records | Various | Verification strings | Service verification (Google, etc.) |
By configuring these records correctly, you ensure that all aspects of your online presence work properly after moving to WordPress. This approach gives you more control than changing nameservers.
Post-Migration WordPress Configuration
After successfully pointing your domain to WordPress, several configuration steps ensure optimal functioning and preserve SEO value from your Squarespace site.
Setting Up Permalinks to Match Squarespace Structure
Maintaining a similar URL structure helps preserve SEO rankings and prevents broken links. Permalinks should mirror Squarespace’s `/blog-1/%year%/%month%/%postname%/` structure for the smoothest transition. (Source: Kinsta)
To configure permalinks in WordPress:
- Go to Settings → Permalinks in your WordPress admin dashboard
- Select “Custom Structure”
- Enter a pattern that matches your Squarespace URL structure
- Save changes
This configuration ensures that search engines don’t see your content as entirely new, which helps maintain your search rankings during the transition to WordPress migration.
Implementing 301 Redirects for SEO
Even with matching permalink structures, you’ll likely need to set up redirects from old Squarespace URLs to their new WordPress counterparts. This is crucial for maintaining SEO value and providing a seamless user experience.
Several WordPress plugins can help with implementing redirects. These tools allow you to map old URLs to new ones and automatically redirect visitors and search engines.
For a website loading speed that supports good user experience and SEO, properly configured redirects are essential. The faster your redirects process, the better your site will perform in search rankings.
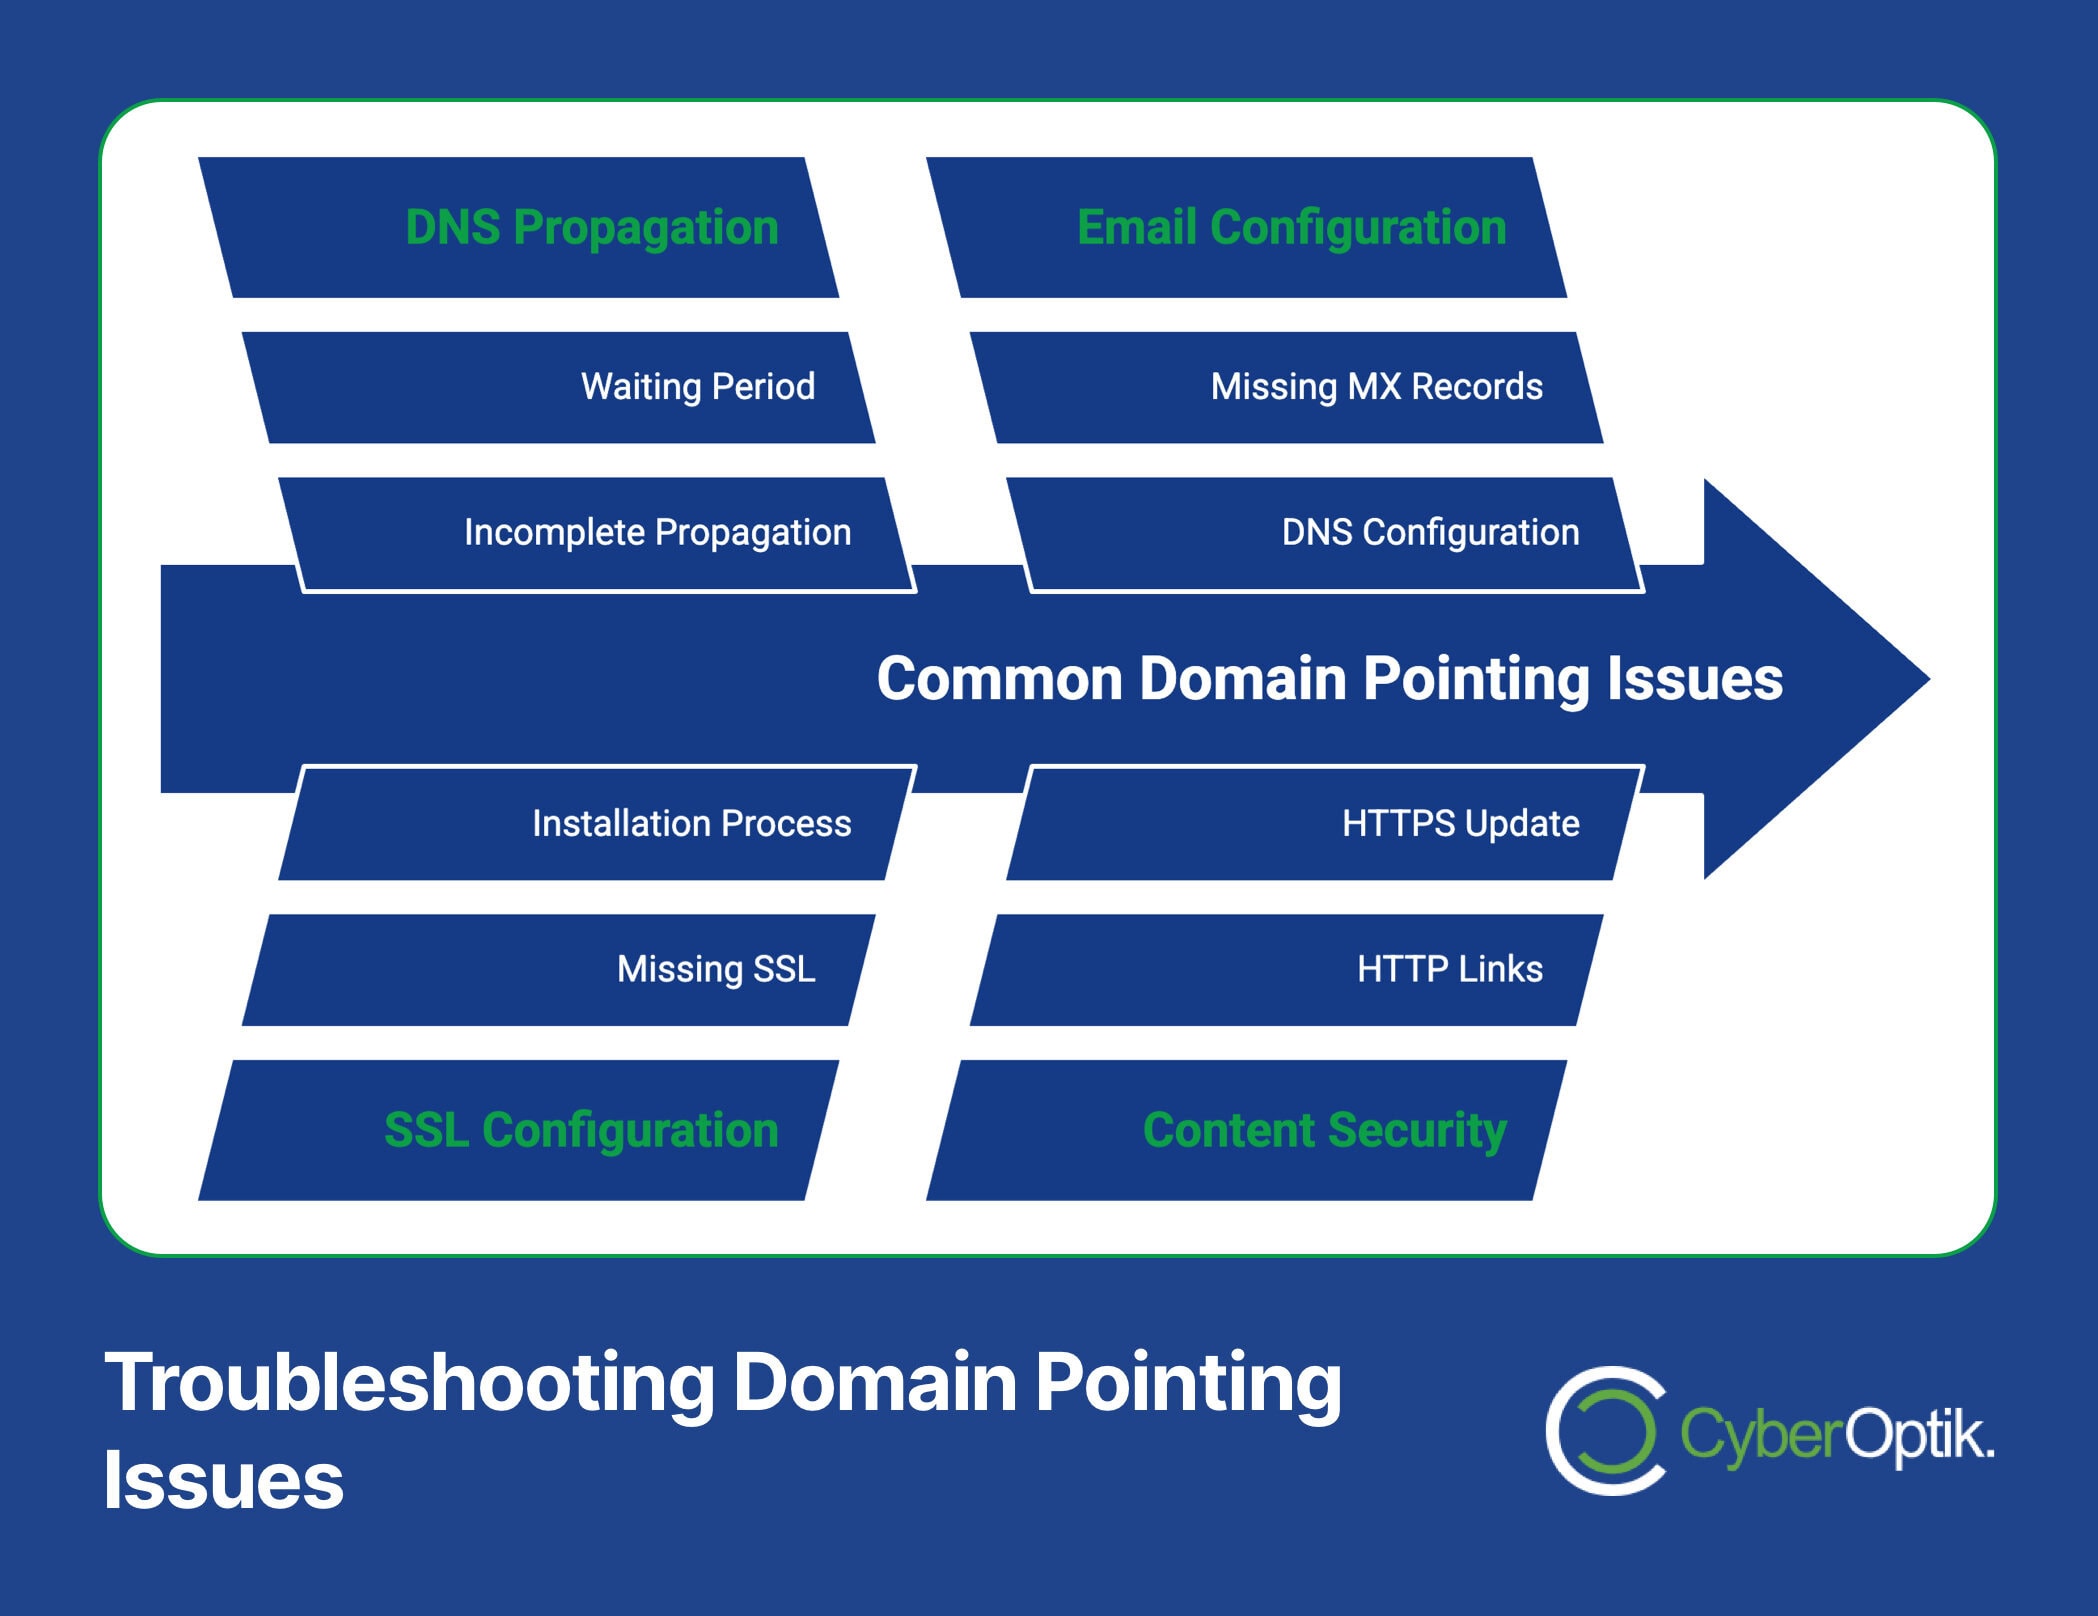
Common Issues and Troubleshooting

Even with careful planning, you might encounter some challenges when pointing your Squarespace domain to WordPress. Here are solutions to the most common issues:
| Issue | Possible Cause | Solution |
|---|---|---|
| Website not loading | DNS propagation not complete | Wait 24-72 hours for full propagation |
| SSL certificate errors | SSL not configured on WordPress | Install SSL certificate on your WordPress hosting |
| Email not working | Missing MX records | Add proper MX records in DNS configuration |
| Mixed content warnings | HTTP links in HTTPS site | Update internal links to use HTTPS |
If you’re wondering how to migrate from a platform to WordPress without losing rankings, proper troubleshooting of these common issues is essential. Search engines favor sites that provide seamless user experiences without technical errors.
Maintaining Your WordPress Website After Migration
Once you’ve successfully pointed your Squarespace domain to WordPress, proper maintenance ensures your site remains secure, fast, and effective. As a custom WordPress website design agency, we recommend establishing a regular maintenance routine.
Key maintenance tasks include:
- Regular Updates: Keep WordPress core, themes, and plugins updated
- Security Monitoring: Implement security plugins and regular scanning
- Performance Optimization: Monitor and optimize page speed regularly
- Content Backups: Schedule automatic backups of your site
- SEO Monitoring: Track rankings and address any issues quickly
This maintenance schedule helps protect your investment in WordPress and ensures your website continues to perform optimally for your visitors and in search results.
Conclusion
Pointing your Squarespace domain to WordPress opens up tremendous possibilities for your website’s functionality and growth. Though the process involves several technical steps, following this guide helps ensure a smooth transition.
To recap the key points:
- Determine whether pointing or transferring your domain better suits your needs
- Gather all necessary information before beginning
- Update nameservers or DNS records in Squarespace
- Allow time for DNS propagation
- Configure WordPress settings to maintain SEO value
- Address any issues that arise during the transition
- Establish a maintenance routine for your WordPress site
If you find this process overwhelming or want to ensure it’s done correctly, our team specializes in WordPress migrations that preserve SEO value and ensure a seamless transition. We handle all technical aspects while you focus on your business.
Have you experienced challenges when pointing a domain to WordPress? What solutions worked for you? We’d love to hear about your experiences in the comments below.


